
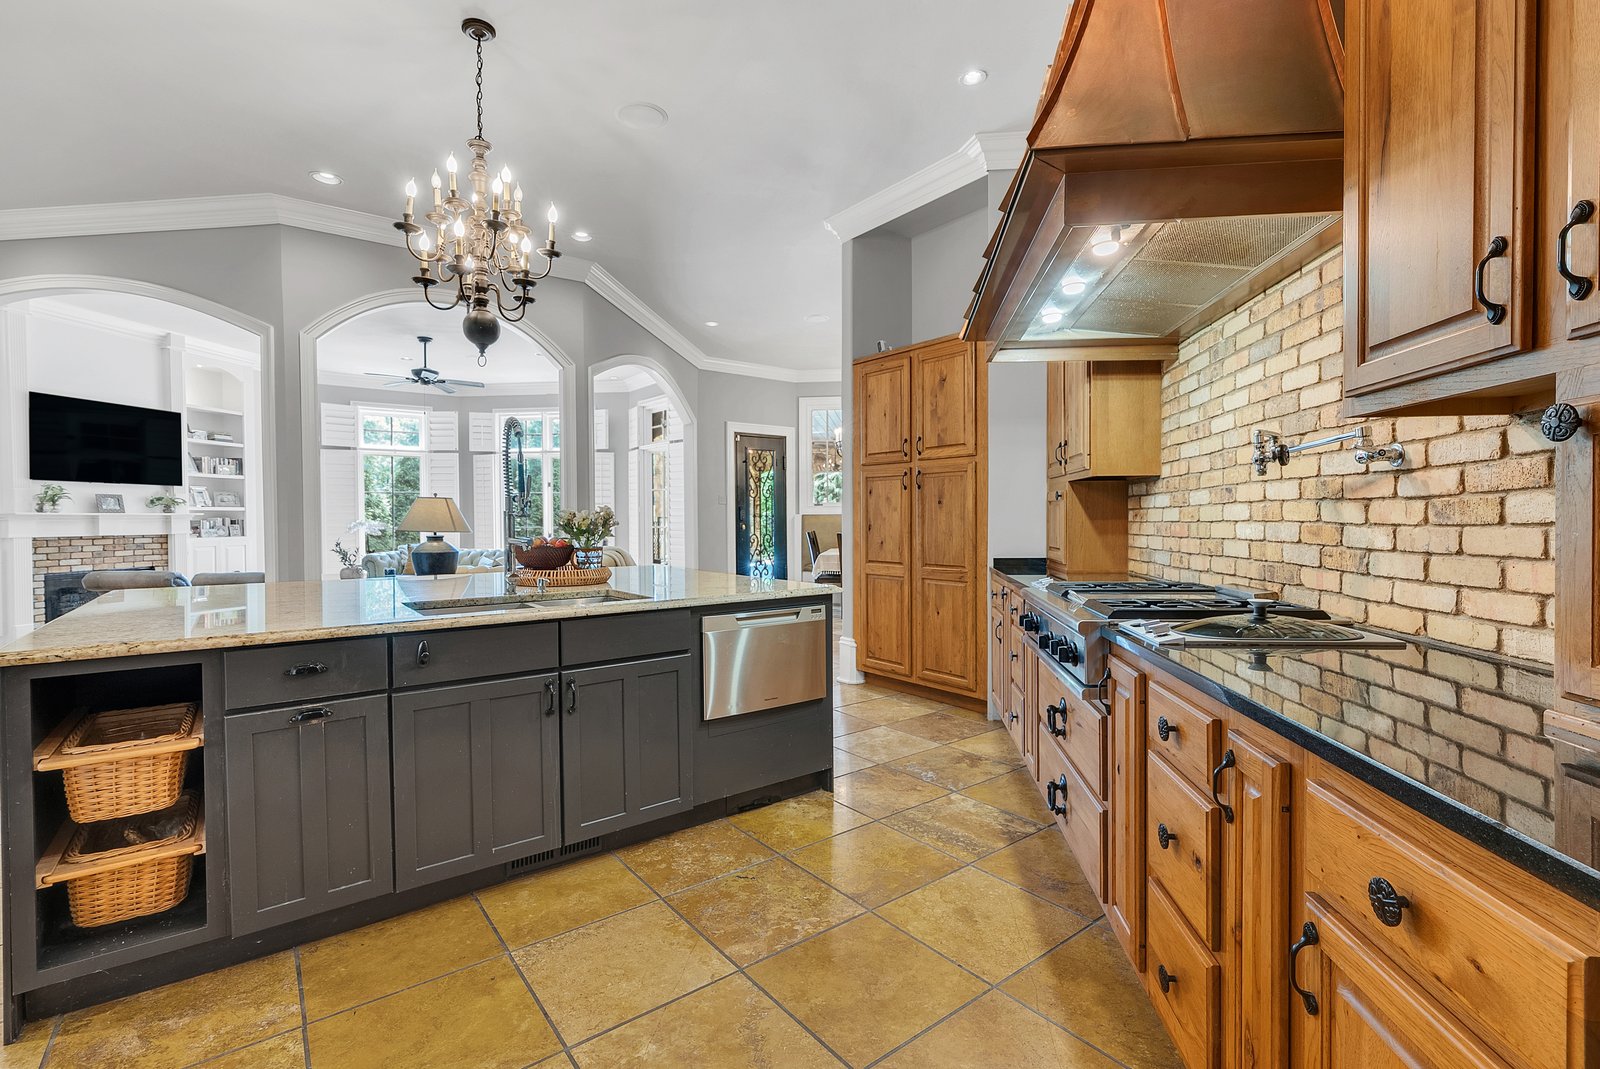
Buyers decide whether to click your listing in about two seconds, and they decide on the photos. Not the price, not the description, the photos. A great set gets the showing. A dim, crooked, cluttered set sends them to the next listing before they ever read a word.
The good news: most of what separates amateur listing photos from professional ones isn’t expensive gear or years of training. It’s a handful of habits you can start using on your next shoot. Here are the real estate photography tips that move the needle most, in the order they matter.
Rule #1: Wipe Your Lens
Before anything else, clean your camera lens. This is the single most common reason listing photos look soft and hazy, and almost nobody does it.
Your phone lives in your pocket, your bag, your hand. The lens picks up smudges, fingerprints, and a thin film of oil all day long. You won’t see it on the small screen, but it turns every photo slightly foggy and washes out contrast. A quick wipe with your shirt or a microfiber cloth before each room is the cheapest quality upgrade in real estate photography. Make it a reflex.
Use the Light You Already Have
Light is what makes a room look inviting or grim, and you can control most of it for free.
Turn on every light in the house. Overhead lights, lamps, under-cabinet lights, all of it. A fully lit room reads as warm and lived-in. Then work with the windows: shoot during the day when natural light is doing the heavy lifting, and avoid harsh midday sun that blows out the view through the glass.
One thing to watch is mixed light. Daylight is cool and blue, indoor bulbs are warm and orange, and when both hit a room your photos can come out with a weird color cast. If a room looks off, try turning off the lamps and leaning on the window light, or the other way around, and shoot both to compare. Your editing app can fix the rest, which we cover in the real estate photo editing guide.
Shoot Straight and From the Corner
Composition is where rooms either look bigger or look broken.
Shoot from a corner of the room rather than straight at a wall. The corner angle shows two walls and the depth between them, which makes the space feel larger and more three-dimensional. Stand back, get as much of the room in frame as you can, and let the layout breathe.
Hold the camera at about chest height, not eye level. Eye level makes ceilings feel low and floors disappear. Chest height keeps the proportions natural.
And keep your verticals straight. The fastest way to spot an amateur photo is leaning walls, where the vertical lines tilt inward or outward. Hold the phone or camera level, not tilted up or down, and the walls stay straight. This one habit instantly makes your photos look more professional.
Prep the Room First (The 15-Minute Checklist)
The best camera in the world can’t fix a cluttered room. Spend fifteen minutes prepping each space before you lift the camera. Here’s the checklist, free to copy or screenshot:
- Declutter every surface: counters, tables, nightstands, the top of the fridge
- Hide cords, chargers, and remotes
- Put away personal items: family photos, mail, toiletries, pet bowls
- Close toilet lids, every time
- Open blinds and curtains to let light in
- Turn on all the lights
- Straighten pillows, chairs, and rugs
- Clear the kitchen sink and counters completely
- Pull cars out of the driveway for exterior shots
- Wipe down mirrors and glass so they don’t show smudges
Print this, keep it in your car, and run it before every shoot. It’s the difference between photos that look staged and photos that look like someone’s busy Tuesday.
The Mistakes That Quietly Cost You Showings
A few errors show up again and again, and each one sends buyers clicking away:
- A dirty lens (see rule #1) that makes everything hazy
- Dark rooms because the lights were off
- Crooked, leaning verticals
- Clutter and personal items left in frame
- Toilet lids up
- Fisheye distortion from a lens that’s too wide, which bends the walls
None of these take skill to avoid. They take a checklist and a little attention, and fixing them puts you ahead of most of the listings a buyer scrolls past.
Going Deeper: Gear, Phone, Twilight, and Editing
Once the fundamentals are habit, these guides take each piece further:
- The right gear matters more than people think. Start with the best lens for real estate photography and the best camera for real estate photography.
- No camera? You can get surprisingly far with what’s in your pocket. See iPhone real estate photography.
- The highest-impact exterior shot in real estate is the dusk photo. Learn it in twilight real estate photography.
- And the edit is half the final result. Here’s how to edit real estate photos without crossing the line.
When to Hand It Off
These tips will make your own photos dramatically better, and for a lot of listings that’s all you need. But the homes where presentation really moves the price, the luxury listing, the one you want to win the seller for, are worth professional photos and a short walkthrough video. Video especially is what makes an agent memorable.
If you’re a Nashville agent who’d rather hand the camera off for the listings that matter, get in touch and we’ll handle the photos and the video so you can focus on selling.
Every one of these is learnable. If you would rather spend the time selling houses, we shoot listings.