
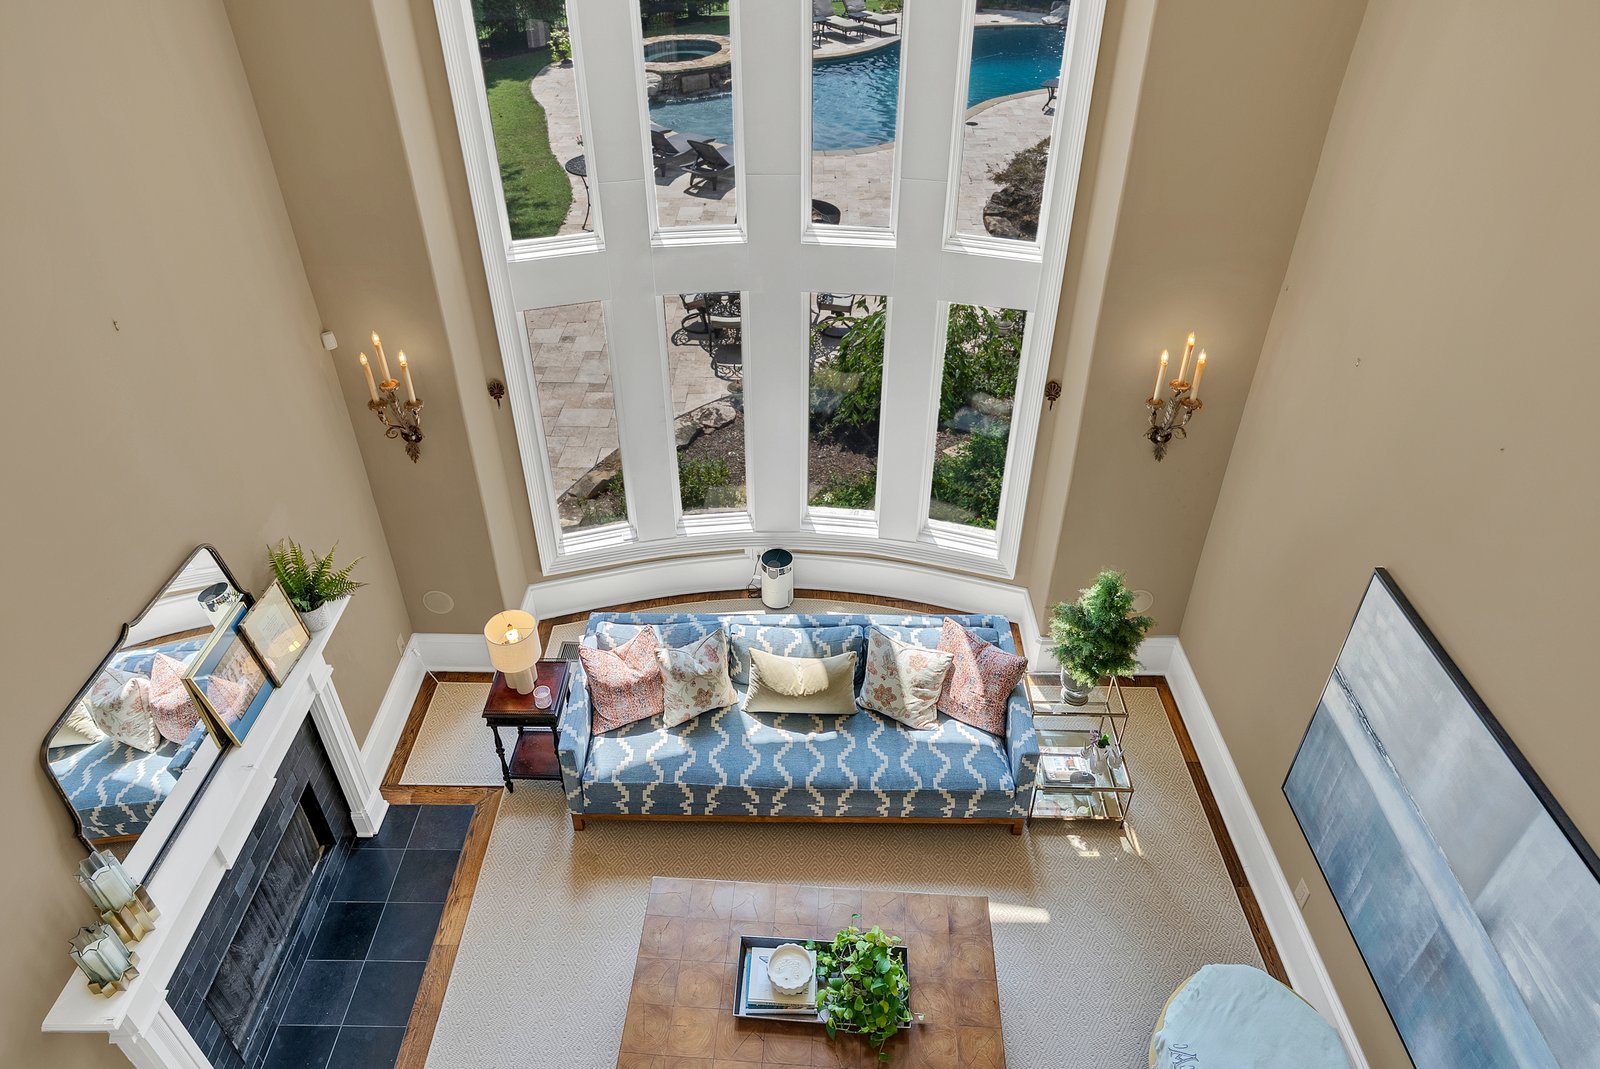
A good photo is half capture and half edit. Even a well-shot room usually needs a few minutes of cleanup before it’s ready for the listing, and a few minutes is all it takes. Here’s a straightforward real estate photo editing workflow, plus the line you should never cross.
The Four Edits That Do 90% of the Work
You don’t need to be a retoucher. For listing photos, four adjustments handle almost everything:
- Straighten. Fix any tilt so the verticals are truly vertical and the horizon is level. This alone makes a photo look instantly more professional. Most apps have a one-tap auto-straighten plus a manual slider.
- Brighten and balance exposure. Lift the shadows so the room reads bright and open, and pull back the highlights so the windows aren’t blown out to pure white. The goal is a room that looks airy without looking fake.
- Fix the color (white balance). This kills the orange or blue color cast you get from mixed lighting. Nudge the temperature until the whites in the room actually look white. Cleaner color makes everything feel higher-end.
- A touch of contrast and sharpening. A little contrast adds life; a little sharpening adds crispness. Emphasis on “a little.”
That’s the whole routine for most photos. Straighten, brighten, balance, polish.
Blending Exposures for Hard Rooms
Some rooms have a brightness problem one exposure can’t solve, the interior is dark while the windows are blindingly bright. The fix is to shoot two or three frames at different exposures and blend them, so you keep both the room and the view out the window. This is the same technique behind the twilight hero shot, and it’s worth learning once you’re comfortable with the basics.
The Apps Worth Using
- Phone editing apps like Lightroom mobile or Snapseed handle straightening, exposure, and color, and they’re free or cheap. For iPhone real estate photography, this is all you need.
- Desktop Lightroom speeds things up when you’re editing a whole shoot, with presets you can apply to every photo at once for a consistent look.
- HDR/blending tools handle the multi-exposure window fix automatically.
Pick one, learn its straighten and exposure tools first, and add the rest over time.
How Far Is Too Far
Here’s the line, and it matters legally and ethically: edit the photo, don’t edit the truth.
Brightening, straightening, color correction, and exposure blending are all fair game, you’re showing the home accurately, just at its best. What you cannot do is misrepresent the property. Removing a permanent feature, swapping in a fake sky that implies a view that doesn’t exist, digitally erasing a power line or a neighboring building, or virtually staging without disclosing it, these can violate MLS rules and, in some places, real estate advertising law. The test is simple: would a buyer feel deceived when they walk in? If yes, you’ve gone too far.
Honest editing builds trust. Deceptive editing gets you complaints and worse.
Start With Better Captures
The less editing a photo needs, the better it looks, so the real shortcut is getting more right in camera. The core real estate photography tips (clean lens, good light, straight verticals, prepped rooms) mean your edits are quick touch-ups instead of rescue jobs.
When to Hand Off the Edit
Editing a full shoot consistently, shoot after shoot, is where a lot of agents lose hours they don’t have. If the editing is the part that drains you, that’s exactly the piece worth handing off.
If you’d rather shoot it and have it come back polished, or skip the camera entirely for your big listings, get in touch and we’ll take it from capture to final.
Editing is the part that eats a Sunday. We have an editor on staff, which is why our listing galleries come back fast.