
If you only upgrade one piece of gear for shooting listings, make it the lens. The camera body matters less than people think; the lens is what lets you fit a whole room into the frame and keep the walls straight. Here’s how to pick the best lens for real estate photography without overspending.
Why Wide-Angle Wins
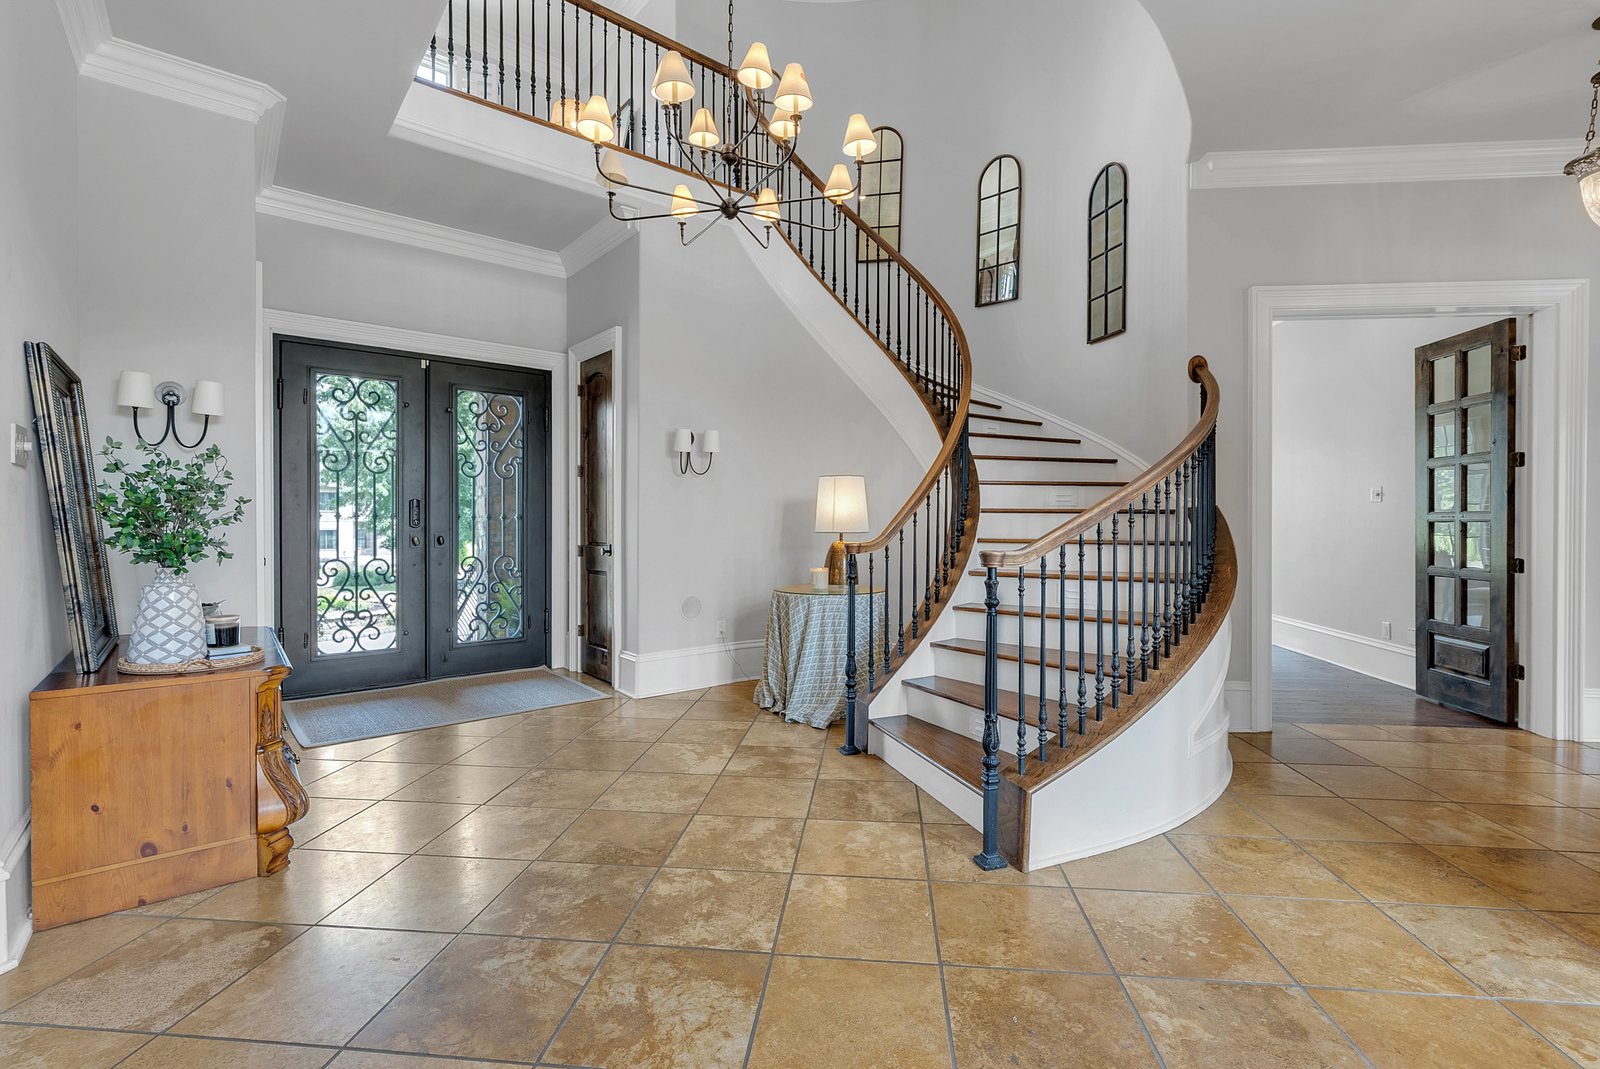
Real estate is about space, and a normal lens can’t show it. Stand in a bedroom with the lens that came on your camera and you’ll capture one wall and a sliver of floor. A wide-angle lens pulls in two or three walls, the depth of the room, and the light from the windows, all in one shot. That’s the difference between a photo that says “small bedroom” and one that says “room to breathe.”
Wide-angle is the entire game for interiors. Get this right and your photos immediately look like listings instead of snapshots.
The Focal Lengths That Actually Work
The sweet spot for real estate is roughly 16mm to 24mm on a full-frame camera (about 10mm to 16mm on a crop sensor). That range is wide enough to capture a room but not so wide that it distorts.
Go wider than that and you hit the fisheye problem: the walls start to bow, the room looks warped, and buyers can tell something’s off even if they can’t name it. A 12mm ultra-wide is tempting because it fits everything, but the distortion makes the home look unnatural. Stick to the 16-24mm range and you get spacious without the funhouse-mirror effect.
A zoom in that range (like a 16-35mm) is the most flexible choice because you can dial the width to the room instead of backing into a wall.
What to Look For
- Focal range: 16-24mm full-frame equivalent, as covered above
- Sharpness in the corners: rooms have detail edge to edge, so you want a lens that stays crisp in the corners, not just the center
- Minimal distortion: straighter lines mean less correcting later
- A constant aperture (like f/4) is nice but not essential, since you’ll shoot interiors on a tripod at smaller apertures anyway
You do not need the most expensive lens on the shelf. A solid mid-range wide-angle will out-perform a kit lens by a mile and cost far less than a pro-grade body.
The Tripod Is Part of the Kit
A lens upgrade without a tripod leaves half the value on the table. Interiors are often dim, and to keep them sharp you shoot at a smaller aperture and a slower shutter, which means any handheld shake shows up as blur. A basic, sturdy tripod fixes that and also locks your verticals straight, which is one of the biggest tells of an amateur photo. Budget for the tripod the same day you budget for the lens.
What About Your Phone?
If you’re not ready to buy a camera and lens at all, modern phones have a built-in wide lens that does a respectable job for everyday listings. The trade-offs are real but the results are usable. We break that down in iPhone real estate photography. And once you’ve settled the lens, the best camera for real estate photography covers the body to put it on.
The Bottom Line
Buy a 16-24mm wide-angle, add a sturdy tripod, and you have 90% of what separates professional-looking listing photos from snapshots. Everything else is technique, which is free.
If you’d rather skip the gear hunt entirely for your higher-end listings, get in touch and we’ll bring the right glass and shoot it for you.
Or skip the glass entirely and let someone else carry it. Here is how our listing photography works.