
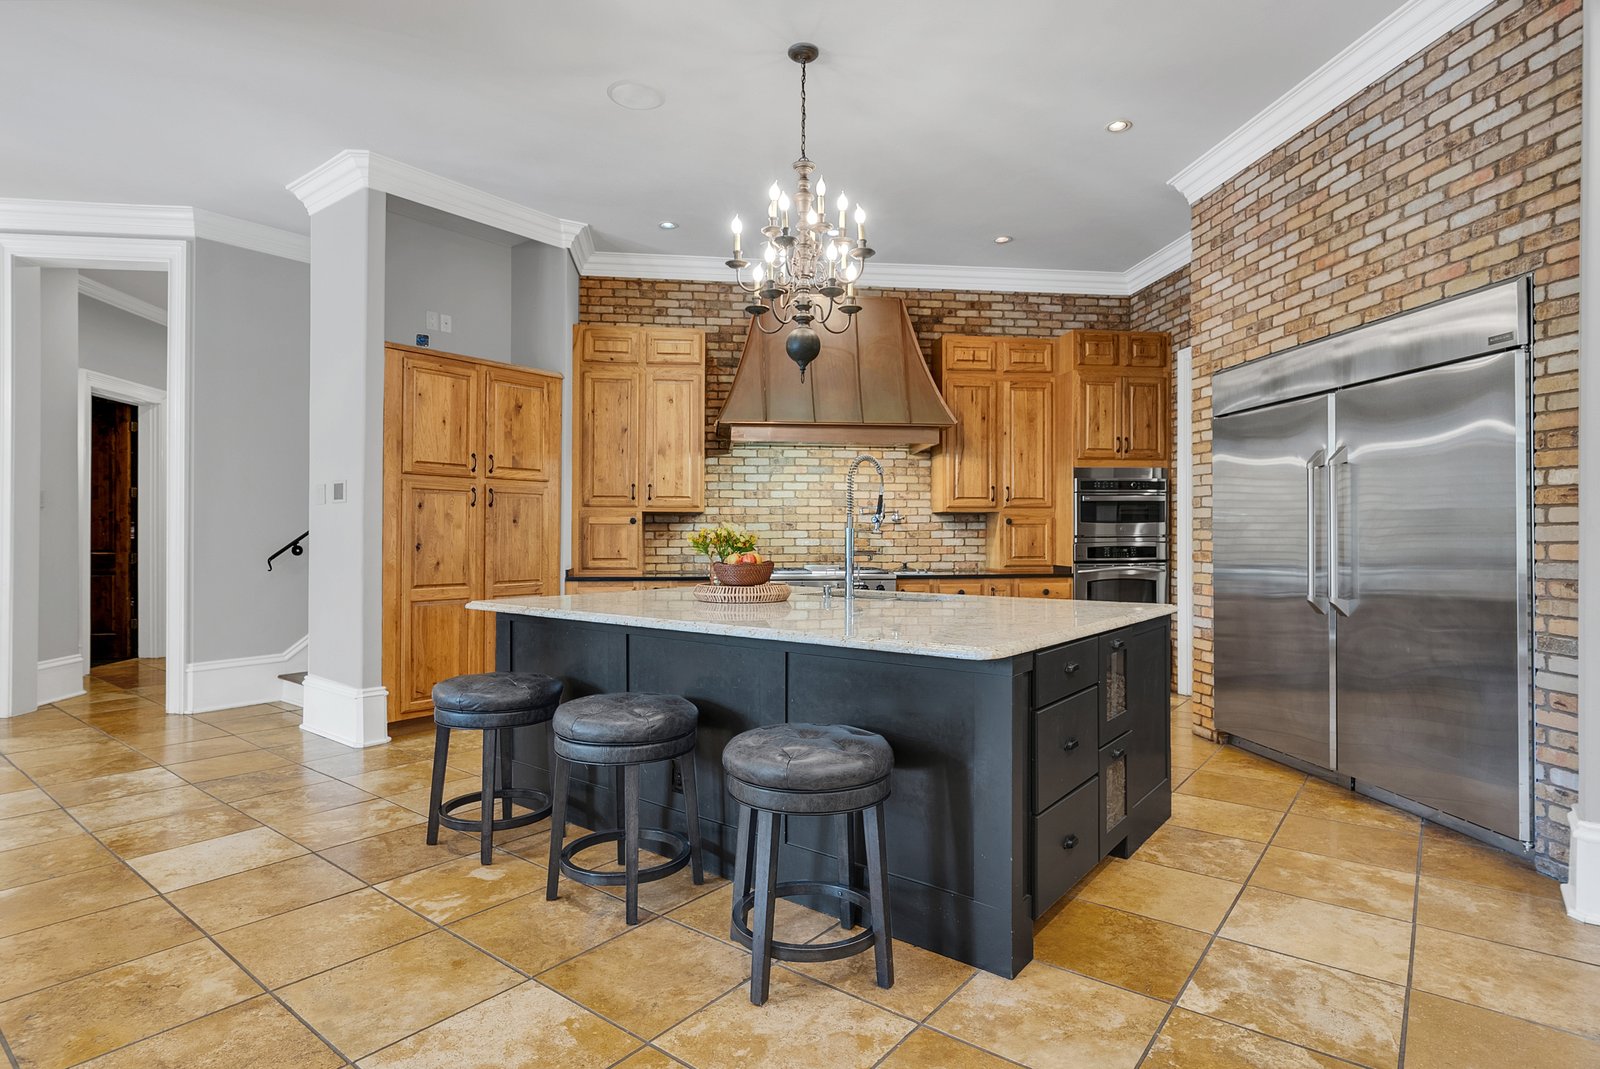
Ask five agents what separates a clean listing photo from a phone snapshot and most will say “the camera.” It’s almost never the camera. It’s the tripod.
A tripod fixes three of the four most common problems in a bad listing photo: crooked verticals, motion blur in a dim room, and inconsistent framing from shot to shot. Get those right and the photos already look like a professional took them. Miss them and it doesn’t matter what lens is bolted to the front.
If you’re shopping for your first real estate tripod, or replacing a wobbly one that came in a starter kit, here’s what actually matters, what doesn’t, and what a working tripod looks like in the field.
Why a Tripod Matters More Than the Camera Body
Interiors are darker than they look. Your eye compensates. The camera doesn’t.
To keep a room sharp from the near corner to the far wall, you need a smaller aperture (usually f/8 to f/11). That lets less light in, which pushes the shutter slower. Slower shutters plus hand-holding equals blur, even if you can’t see it on the back of the camera. A tripod removes the shake and lets you shoot at whatever shutter speed the scene actually needs.
That’s the technical reason. The bigger reason is composition. A tripod slows you down. You stop shooting from wherever your hands happen to be and start choosing the frame on purpose: exact camera height, exact angle to the walls, verticals plumb. That shift, from grabbing photos to composing them, is most of what agents mean when they say a listing “looks professional.” It reads as intent.
We’ve covered the broader tips list and where the lens fits into the kit. This post drills into the piece both of those assume you already own.
What Actually Matters in a Real Estate Tripod
Forget star ratings. Four things do the work.
Height and reach. Real estate photos live at roughly chest to eye height, usually 48 to 60 inches from the floor. Any tripod that gets to five feet with the center column DOWN will cover nearly all of your shots. The center column matters: raising it makes the whole rig wobblier and puts the camera up where it stops looking like a natural viewpoint and starts looking like an inspection photo. Buy a tripod tall enough that you rarely need to extend the column.
Weight capacity and stability. A mirrorless body plus a wide-angle lens is somewhere between three and five pounds. Any modern tripod handles that on paper. The question is whether it stays motionless when you press the shutter, when the HVAC kicks on, and when a floorboard creaks because you’re standing next to it. Cheap legs flex. Good legs don’t. If the price feels too good to be true, the aluminum is thinner and the leg locks are looser than they need to be, and you’ll feel it.
A level. Two, if possible. The single biggest tell of amateur real estate photos is walls that lean in or out. A bubble level on the tripod head, plus your camera’s built-in electronic level, catches this before you take the frame. If your tripod’s head doesn’t have a level, add a hot-shoe bubble level for five dollars. Straight verticals are so much of what makes rooms look “square” and professional that this small piece is worth building the whole workflow around.
Fast leg locks. You’ll set up and break down the tripod dozens of times in a single house: living room, kitchen, then each bedroom, then bathrooms. If the leg locks are slow or awkward, you’ll cut corners on the last few rooms just because you’re tired of fiddling with them. Twist locks and flip locks both work. Which one you prefer is personal. What matters is that they operate one-handed and never slip.
Notice what’s not on that list: carbon fiber, ball-head brand names, feature count. Those things are nice if you already have the basics right. They don’t rescue a tripod that fails the four above.
Aluminum or Carbon Fiber?
Short version: aluminum for the first tripod, carbon fiber if you carry it every day.
Aluminum is heavier and cheaper. That extra weight is actually a small advantage indoors: a heavier tripod damps vibration better. The downside is your shoulder after a full day of house-to-house shooting.
Carbon fiber cuts the weight roughly in half at roughly double the price. If you’re photographing three to five houses a week, that weight savings shows up in your body by Friday. If you’re shooting occasionally, or you own the studio you shoot in, the aluminum is fine and the money is better spent on the lens.
Either way, avoid the ultralight travel tripods that fold down to 12 inches. They’re built for hiking, not for a working camera in a real room. They wobble at full extension and they’re too short for most listing angles.
Tripod Heads: The Piece Most People Underweight
Every tripod is really two pieces sold together: the legs and the head. The head is where the camera actually mounts, and it does more work than people expect.
For real estate, a three-way pan/tilt head is the traditional choice. It has separate controls for left/right pan, up/down tilt, and side-to-side roll. That sounds like more knobs than you need until you realize you can lock two axes while adjusting the third, which is exactly what you want when you’re leveling verticals room by room.
A ball head is faster (one lever loosens everything, one tightens it) but harder to precisely level, because loosening the ball loosens all three axes at once. Ball heads are better for weddings, portraits, and any work where you reframe quickly. Real estate rewards slow and precise, so most pros end up on a pan/tilt head or on a geared head, which is a slower, more precise cousin of the pan/tilt.
Whatever head you pick, make sure it has a quick-release plate that clicks in and out fast. You will take the camera off the tripod dozens of times per house, if only to check the back of the frame from a different angle.
The Price Ranges That Actually Matter
There are three tiers worth knowing about.
Under $75. This is where the “starter” tripods live: the ones that come bundled with a camera or that show up first when you search for the cheapest option. They technically hold a camera. They also flex under weight, have plastic leg locks that slip, and often top out around 55 inches. You will replace it inside a year, and you’ll pay for it twice. Skip this tier entirely.
$150 to $300. This is the sweet spot for real estate. In this range you get solid aluminum legs, a proper pan/tilt or ball head, one or two bubble levels, and a quick release. Manfrotto’s mid-tier lines have lived in this range for decades. So do reputable brands like Vanguard, Sirui, and Benro. Any tripod that spec-sheets to hold 10 pounds or more, extends to 60+ inches without the center column raised, and has a real head (not a molded plastic one) will serve you for years.
$400 and up. Carbon fiber legs, geared heads, and higher weight ratings. Worth it if you shoot real estate professionally most days. Overkill for one to two houses a week.
Set aside somewhere between $150 and $250 and you’ll land on a tripod that will still be doing the job three cameras from now.
How the Tripod Changes the Way You Shoot a House
Owning the right tripod is one thing. Using it changes the actual workflow.
You’ll shoot each room from a fixed camera height, usually somewhere around 48 to 54 inches. That’s roughly chest height on most adults, and it’s the height where kitchen counters, dining tables, and sofas all sit in comfortable proportion. Higher and everything starts looking small; lower and the floor eats the frame.
You’ll level the camera in two directions before every shot: side to side (so the walls don’t lean) and front to back (so the ceiling and floor lines stay parallel). This takes ten seconds with a leveled tripod and never gets done properly without one.
You’ll shoot bracketed exposures. On a tripod, you can fire three to five frames at different exposures for the same composition and blend them later to hold both the bright windows and the shadowed corners. Off a tripod, the frames don’t line up and blending them is a headache. This is the technique that makes windows look like real views instead of blown-out white rectangles. It’s central to how twilight shots work too, where every frame has to be a long exposure.
You’ll also be able to keep camera height and framing consistent from listing to listing, which matters more than any single photo. A brokerage that publishes photos at the same eye level and the same wall-alignment style across every listing builds a visual identity. It’s a small thing that separates a serious real estate photography and video program from a rotating cast of freelancers.
What About the iPhone?
A tripod still helps, but not as much.
Phone cameras have short exposures and computational stabilization that hide handshake well. What a tripod on a phone mainly buys you is consistent height, straight verticals, and the ability to shoot a room without your arm getting in the corner of the frame. That’s not nothing. If you’re already shooting listings with your phone (we’ve written about what to expect from that workflow), a $40 phone tripod with a bubble level is a low-cost upgrade.
The larger point: a tripod is the piece of the kit that helps every camera the most. It’s the last thing you outgrow.
Nashville Realities
Two things worth mentioning if you’re shooting in and around Nashville specifically.
First, a lot of the housing stock, especially in East Nashville and the older neighborhoods, has small rooms with unusually tall ceilings. That’s a room where a tripod earns its keep. You’ll want a low camera height (to keep the ceiling in the frame without distortion) and dead-level verticals (because tall walls exaggerate any lean). Both are hard to do handheld.
Second, if you’re a listing agent booking out professional photos, ask the photographer if they shoot on a tripod. If the answer is “sometimes” or “depends,” that answers a different question about how the finished photos will look. It’s a fast tell.
The Short Version
A tripod isn’t the exciting purchase in a real estate kit. It’s the one that quietly determines whether the whole kit works.
Spend $150 to $250 on aluminum legs and a pan/tilt or ball head that reaches five feet with the center column down, has a bubble level, and has fast leg locks. Skip the ultralight travel models. Skip the $50 starter kits. Use it for every interior frame you shoot. Your listing photos will change more from this one purchase than from any other piece of gear.
If you’d rather hand the whole listing off to a Nashville photographer and video team who already own the right gear and know how to use it, get in touch and we’ll talk through what a listing package looks like.